|
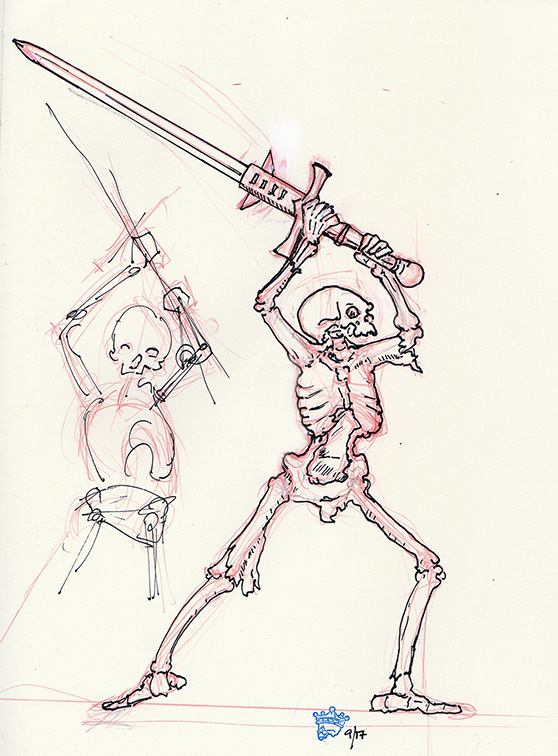
| Warlord plastic pikeman marvels at the new pikes |
Now don’t get me wrong, I love a good metal pike, and have
used them quite a bit- I also have the scars to show it. More times than I care
to remember I’ve impaled myself on my pike blocks. Looking for a good, and much
more economical alternative, I found others making and using styrene plastic
for pikes. Here’s my step by step on how
to make your own.
 |
| The bare bones version showing plastic pike |
Tools
The most important tool that you will need, and might not
have in your tool kit is a pair of smooth pliers. Smoothing meaning no teeth in the inside
grippy part. Aside from that you will
also need:
Cutting blade- A basic Exacto works, but for this job a
chisel shaped blade is very helpful
Measuring device- to measure out your styrene pike lengths;
once you’ve cut one, you can use it for a jig. If they are off a bit, I’m sure
that’s more “historically accurate” than them being all regimental.
Metal Pin- use this to align hands
Drill- in case a hole needs to be enbiggened
Rat Tail file- cleaning up any hands if needed
Glue- Super glue, gel type is the best
Note: Sharp things are sharp, pokey things are pokey and
gluey things are gluey- all can give a good dueling scar- so please be safe and
responsible when using them.
Parts
For this exercise we are making pike for my Triumph of Death
pike miniatures. These minis come with polystyrene plastic sprues.
Pike Making
Take your polystyrene rods and measure them out in sections to
cut for your pikes. I measure mine at 60mm, which is roughly a 15 foot pike. Cut the rods into your pike shafts. At 60mm
you will get 5 pikes with a bit of excess. We’ll use the extra for practicing
making pike heads.
 |
| I've cut it twice and it's still too short! |
Making spear points
This is actually quite easy, but does need a bit of
practice. Take your flat nose pliers and “pinch” about 3mm of the end of a
sprue to make the flat part of the point. Note that if you want a wide head
squeeze more. Pike heads in general are not very wide, so I don’t squish the
plastic too much. Really it’s up to you- but do try and practice on the off
cuts first.
 |
| don't move the blade, rotate the sprue. |
Next take your favorite cutting tool and cut the flat shape
to a point. First cut one side, then roll the styrene to the other side and cut
it. If it’s a bit uneven, just trim a side to match up.
Once you have all your pikes made, time to put them in the
hands of your troops. With my Triumph of
Death Skeletons the hands are made big enough to accommodate the styrene, and
even a bit bigger, but sometimes in the mold and casting the hands get out of
alignment to each other. I use a large sewing needle to put through the hands
and straighten them up before I glue the pike in. You can also use this pin to
move and pose the hands into a slightly different position to add variety to
your unit, by slowly prying the hands about. This technique may mean you have
to cut the back hand away from the body first. If you find any flash, a rat tail file of a
blade will make short work of it.
Next, add the pike into place where you want it to go, then
slide it up a bit, add glue to the hands and slide it back in. I use my Exacto
knife to hold the pike in place while the glue is setting.
Ready for Muster
That’s all there really is to it. When you have them all done, use a good
primer and you are ready for painting.
Say- won’t the paint peel or break off it the pike it bent?
I’ve been making these for about 5 years now, and have yet
to see any of my pike peel. If you use a
good primer and paint, and seal afterwards it should not be an issue. If it does, simply re add some paint and re-varnish!
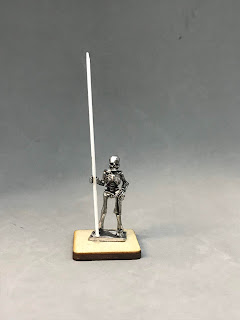
Here are some examples of the Pike skeletons with plastic
pikes. Note that these guys have thicker (2mm) styrene rods for pikes to help
visualize better.
Cheers, and thanks for following through. This technique
also of course works great for spears, and banner poles. If you have any questions, or have your own method in making these I'd love to hear from you.